Showing posts with label DIY. Show all posts

Tuesday, June 25, 2013

instagram - happy little squares of our life ..


From the first time I found Instagram - I was in love.
Pictures of our lives in happy little retro squares; what's not to love?


well - I found something I don't love ...
In today's world of cellphone cameras, i-pads and computers; more often than not - our pictures live their lives forever on Facebook, a hard-drive, or SD card somewhere.


I wanted to be able to display our favorite little square pictures as well as change them out, periodically.  So, I decided to do something about it ... 

I pulled out a large 'glass-less' $2 thrift store frame from my storage and printed out way too many some instagram pictures.


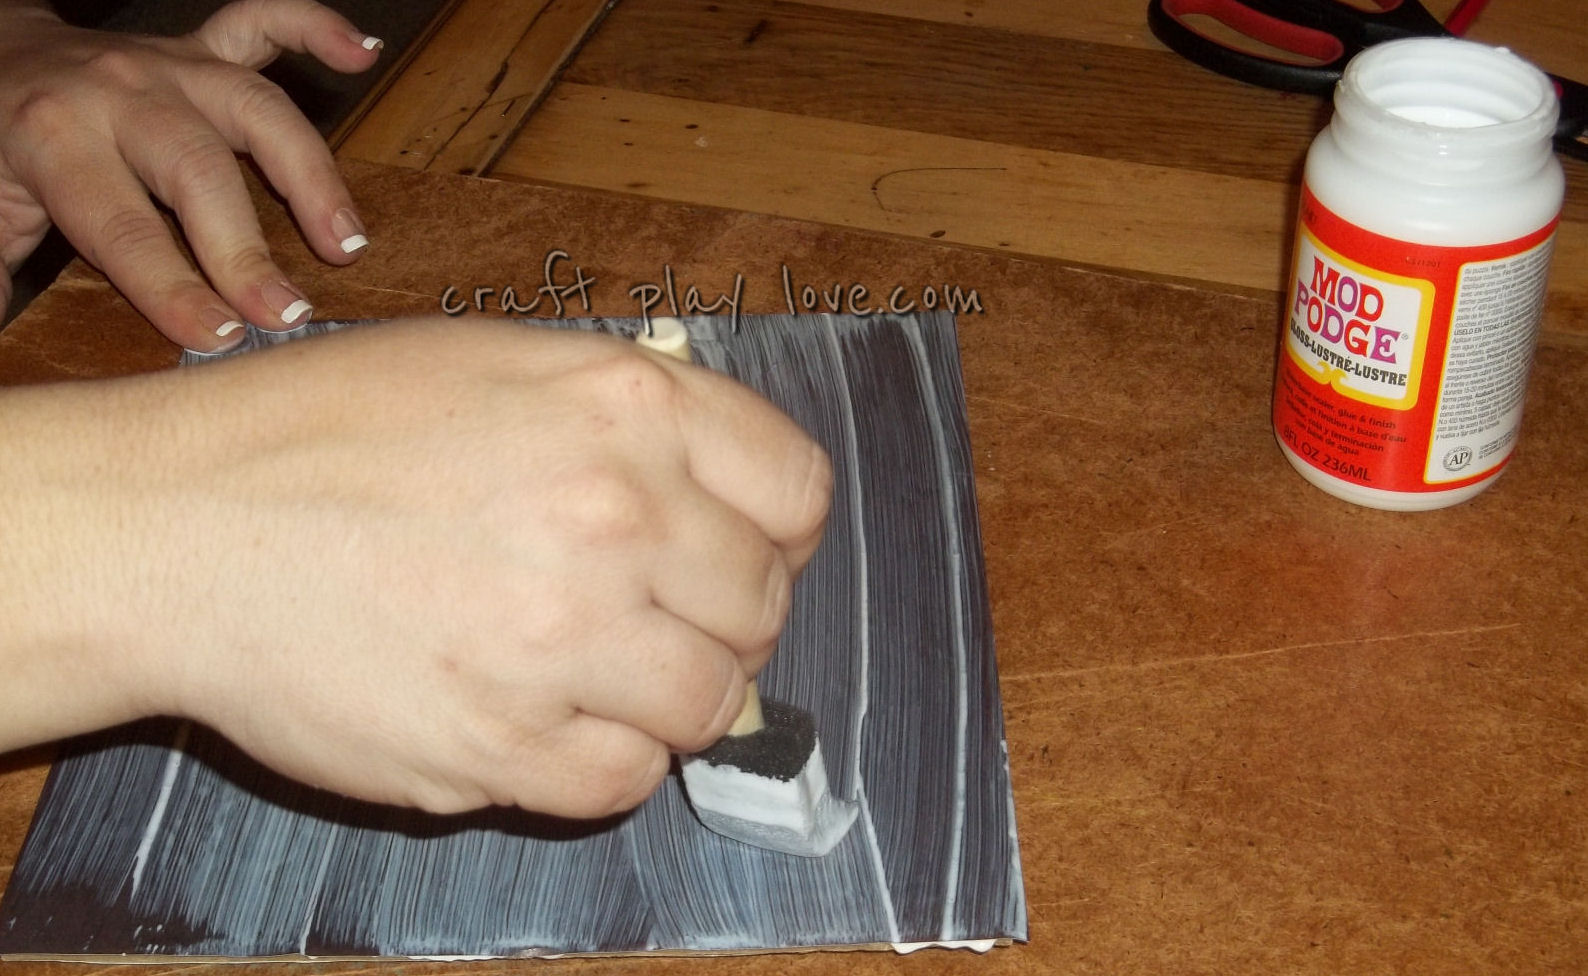
I didn't like the original color of the frame, so I applied an 'espresso' stain and I couldn't be happier.
Ok - I could have been happier, had it not taken 2 days to fully 'cure.'  but .. whatever.


I stapled string to the back of the frame and attached the pictures with mini-clothespins I had bought specifically for this craft.  I hated the pins because they kept breaking, turning sideways and just pissing me off in general ... but I really loved how the craft turned out .. so it's all good!!


Where it hangs is directly underneath one of our many 'sunlights' in our house and it lights up the frame ever so nicely.   

I like it .. I like it, a lot.


Tuesday, May 28, 2013

lost socks and drunken cork boards ...

Today was one of those stupid days.  

Within 20 minutes of waking up I'd decided I was going to do nothing productive. 
NOTHING.

I fell asleep early last night and somehow woke up late, this morning.
I woke up, scared from a strange dream that I couldn't remember.
I forgot to plug in my cell phone & it was an unhappy 94% dead.
My cinnamon rolls didn't turn out anywhere near as delicious as I had planned.
The teenager didn't complete her homework as she had promised.

It was very obvious that today was to be a day for crafts, the whole crafts and nothing but the crafts.   So help me crafts.


- home of the lost socks-
-we painted a thrift store wood plank
-we washi taped clothes pins
-we gorilla glued 'em onto the now avocado plank
-I created a 'LOST SOCKS' print out of alphabet letter art
-we embellished the sign with awesome metal flowers and brads from Pick Your Plum
-  DONE !
one happy little lost sock sign for our Laundry room
nobody wants to be alone
even if you are just a sock ...
 
-a drunken cork board-

this one's easy
.. drink a bunch of wine
keep the corks and glue them into a frame
decorate frame
DONE ! lol

but don't craft after the third glass of wine.
friends don't let friends drink and hot glue.

Wednesday, February 27, 2013

Lego Box of Awesome


I honestly think I could hear my mom's heart breaking, despite the two time zones and 2,500 miles that separate us.

She was on the phone discussing upcoming Christmas gifts with our 9 year old and I only had to hear her answer, to know the question ..

"No, Gramma. I don't even like princesses OR Disney Princesses.  I like cars and guns and legos and robots and helicopters ...."

That answer, in and of itself, pretty much sums up our girls and our lives.
They're as happy as can be - living life as little, redneck tomboys.
It's nice, because I actually prefer them to be rough n' tumble versus frilly n' froofy.

Fast forward to Valentine's day .. 

our fourth grader had a fabulous idea for this year's Valentine's box.
She wanted to connect a few boxes to create a huge, three-part Tyrannosaurus Rex; complete with giant head, tiny arms and a tail.. :)
Cute.
ambitious and elaborate, but still cute.
I really did love her idea, but I knew it wouldn't be within the classroom guidelines.  So, I decided to innocently peruse pinterest for another idea that maybe, just by chance she'd like.

Within a minute or four, I'd stumbled upon the original lego box of awesome (ok, that might not be the actual title of the original post that inspired us.  sue me.)

I showed her the idea and she got so excited about making this, instead - that I actually thought maybe she had forgotten about the T-rex. 

until ..

"One day, mom, when I'm a grown-up and don't have a teacher to tell me how big my Valentine's box is; I'm going to build a HUGE T-Rex and you'll have to stick your hand in his mouth to give me my Valentine's card."

she smiled and laughed as she walked away to gather materials.

I didn't have a chance or the heart to tell her we don't build Valentine's boxes, as adults.
Then, I figured she already has to grow up too fast in this world.
So,  I'll save that, for another time. ;)

I also found it ironic she should mention robots in her answer to my mom;
considering her last years' Valentine's box .. lol - my kids RULE! <3 :)

supplies for our Valentine's Lego box of Awesome
a box, box-cutter, spray paint and six 'dixie cups'


I commissioned the local, hot handy man to cut holes into the box - about the same width as the middle of the cup. 

we also placed some tape onto the box, holding the cup up from underneath .. just in case.

we taped the top of the box shut, sprayed on a couple coats of paint
voila !


Thursday, February 2, 2012

more word art from me to ewe

Every girl should believe that the definition of beautiful, is them being themselves.

These were simple and I made them in five seconds @ picnik.com
you can make your own and share .. or print mine; either way works ! <3


Tuesday, January 31, 2012

decoupage for Grandma


This whole project started with a beat-up frame I thought was boring and one of those ugly lithographs of a pond and some trees.

'why would you have things you consider so heinous?', you might ask.
It's because I'm predictable and I always snatch up any of the $1-$3 picture frames that are 'save-worthy' at the local thrift store.

I removed the picture from the frame and my sweet G. painted it gold for me. Then I mod-podged some 'leathery' looking scrapbook paper onto the backboard; so later, when I wanted to use it - I'd have a 'blank canvas.'


Let me just say that in the beginning, painting it gold - sounded like a fab idea to me.
LoL but once it was gold .. I thought it was just 'too fakey shiney' to be used.


Monday, January 30, 2012

the necklaces were framed, framed I say!


I really don't think I could live without my weekly trip to the thrift stores.  It's retail therapy at it's cheapest and G. will sometimes takes the afternoon off work, to come thriftin' me.  

Other than spending quality time with my favorite man in the world - my 2nd favorite part is to raid  pillage browse their collection of previously loved picture frames.

While we were recently remodeling my crafting area, I had to relocate all the stuff in order to organize.  I stood back looking at the wood and glass cluttered walkway and even I found my frame stash to be ridiculous. 

So, while Pinteresting that night, I made the board dedicated to using up the hoarder's stash pile of frames and made a silent promise to myself to not purchase anymore until I cleared out at least 50% of the pile. 
A promise that I may or may not have broke 3 days later.

onto the craft ... 

I pulled out a ($1) frame for my star wars subway art.  I simply spray painted it with an 'aluminum' color, because I find it very galactic and futury.
1 frame down ...


Since that wasn't really anything complicated, I decided to take on a second frame.

I found this ($1) gold, glassless hexagon frame in the pile and immediately had a mental picture flash of the necklace holders I'd seen on Pinterest.


I am not a gold kind of girl.
I'm a silver and red and teal kinda girl.
So, of course this also got a healthy coat of spray paint.  
dark plum
G. screwed in some little hooks for me and I was done

I love it and can't wait to tackle the other frames.
I wonder what other ideas are out there, that I have yet to see for repurposing frames.

anyone .. anyone .. Beuller ? :)


Tuesday, January 17, 2012

our photo gallery wall


As soon as my hands were big enough to 'wind up the camera' - I've had a little more than a slight obsession with pictures. Not the type of obsession that includes being IN the pictures .. not at all. *shakes head adamantly*

In fact, I'm usually 'that girl' who holds her hand up to block the well-meaning person from taking her picture. It's not that I'm completely hideous; I've just got an uncanny knack for making some strange, constipated face when the camera snaps.
Nobody needs to see that .. so I hide. ;)

As I was saying, before I was so rudely interrupted by my rantin' and ravin' off topic - I love taking all kinds of pictures. I used to be a huge fan of objects in nature, but since becoming a mom .. there's not a lot of 'still life' around these parts. ;)

I won't lie; there has been a time or two that I've wondered if I 'did that' for the experience .. or the photo opp ... but that's neither here nor there. :)

Back to the wall !
You'd be hard pressed to find a flat surface in our home without one of our goofy faces plastered onto it. 'Pinspired' by the 9322384 picture walls I've seen - I decided it was time to create one of these 'collage walls' for our shabby little shack.

The first step in this entire process spanned almost 2 weeks. >_<
That 'wait time' had 3 totally legitimate reasons
  • I'm a thrift store addict
  • I'm forgetful
  • I live in a tiny town
I emphatically refuse to pay $7-$10 for a new frame, when I can snag one for $0.50 at my favorite thrift store. I tried to remember to visit daily to check the stock .. but with everything else going on in life; I forgot at least 3 or 4 times. Sometimes even after missing a few days of checking the stock - I'd still see nothing new added to the 'collection.'

Even though I'm painfully reminded how itty-bitty my town is, every time I'm trying to make something crafty .. I craft on !

Monday, November 28, 2011

a crafting area, all my own

As I write this post - my kitchen table, living room coffee table, and computer desk are all breathing a sigh of relief. Gone are the pains of random hot glue gun burns, spurts of paint and exacto blade slices into the veneer.

It didn't take a lot of time and/or effort to convince the hubby that I need a crafting 'hub.'

I merely gestured towards the 10+ years of boxes, scrapbooking folders, and endless crates of coloring/painting/art supplies that took our bedroom hostage, years ago.

Before I knew it, we were loaded into the Volvo and speeding off to our favorite thrift store. It took a total of 4 mili-seconds after I walked in the door, until I spotted an object of my desire. A crusty, old, beat-up, desk ... I loved it. This is the part where we fast forward 24 hours of anxious waiting for a friend to help move the desk.


after we sanded down the (many) rough spots that were on the surface, we covered it in 2 coats of a boring, flat brown/tan spray primer/paint.


This next step might seem a little ridiculous .. but we decided to 'faux' some darker wood onto the flat tan. I know ... "Why on Earth did you re-faux something that was already faux, to begin with?" ... simple answer : "Because we can!"


when it was all said and done, I really like how it looks :)


Looking back .. sanding and painting, priming, then re-fauxing this thing was the easy part. lol Once the paint dried, I realized I had to organize a decade worth of junk into my new, pretty space. There were containers on top of caddies, under folders, boxes and a bunch of mini-drawer systems ... *wipes sweat from brow*


half the 'wreckage' the new 'area' without the 'stuff'

I managed to sift through all the junk and re-organize the crafty bits into different categories. After that, I went and 'splurged' on some new containers.
($2/$4/$6 baskets on clearance from the Dollar Store-yay!)

I love my 'new' craft station! It even has a fishy friend to keep me company on my late crafting nights ... not that I ever have those. *wink wink*